To accomplish this feet first requires a basic understanding of a Shower. More specifically water proofing the shower. The waterproofing is really the the back bone or real skeleton of the shower. After that step the shower is really ready for use. The tile is really just for aesthetics. A curdles shower flows the same principles of any other shower but is the size of the entire room. We do want the shower area of the bathroom to drain in a reasonable amount of time so creating an grade to the drain is our first priority.

Treating your Sub Floor
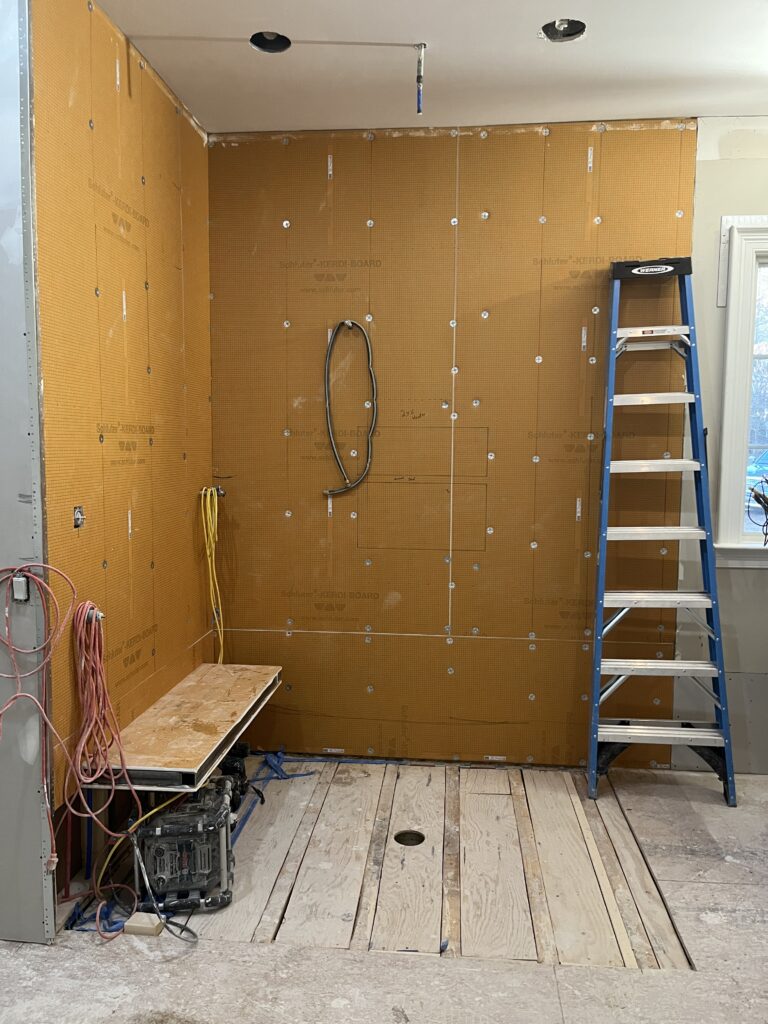
At this phase we determine the drop of our slope 1/8″ every foot. In this case we purchased a pre pitched Pan from shutter systems. The pans thickness is one & a quarter inches. https://www.schlueter-systems.com How do we create a inch and a half elevation drop? Well in this picture we have cut out the subfloor and framed it to be even with the floor trusses. They sell expensive kits but just calculate a day of some cleaver carpentry and all it cost is six or so 2×4’s. All this only earns us 3/4″. We still need to go an other 3/4’s. 1/4 will be achieved by Going with Ditra XL
https://www.schluter.com/schluter-us/en_US/Membranes/Uncoupling-(DITRA)/Schluter%C2%AE-DITRA-&-DITRA-XL/p/DITRA
Adding a 1/2″ ply wood to the rest of the subfloor is what is going to make it work

look close you can see the drain
Before this step there is a pan test done. Put a drain stop in and fill with water over night. Skipping this step can be fatal, It is much harder to fix a leaky pan after is is tiled. the embarrassment infant of your client and possible bad review.
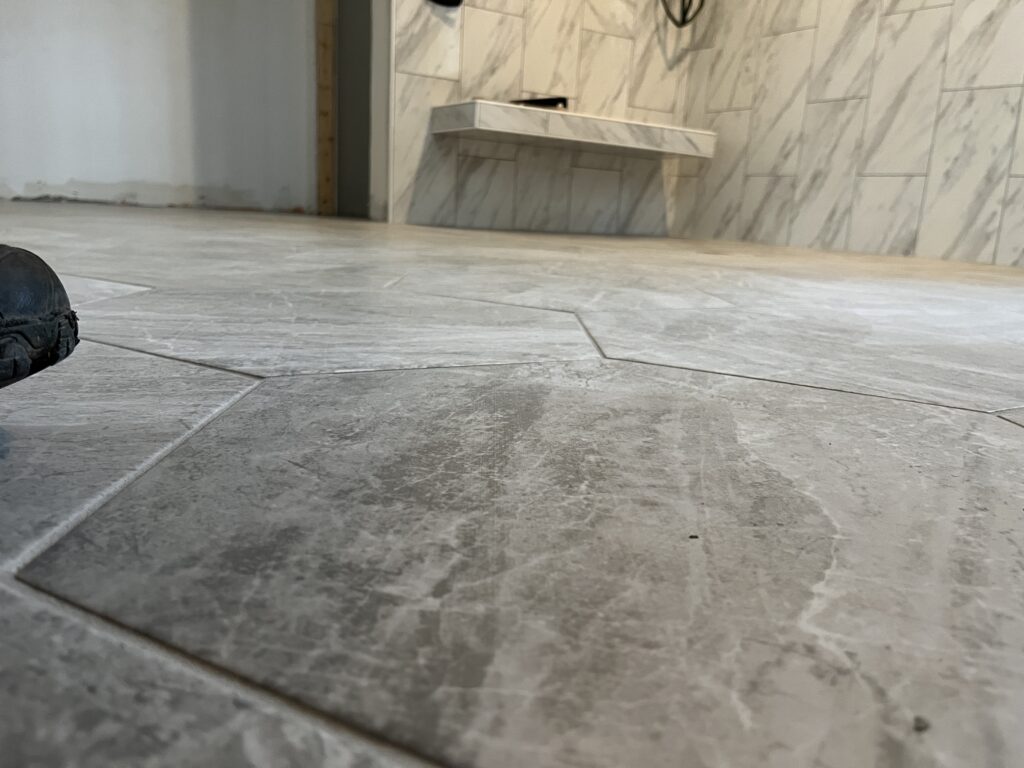
We tiled our shower to make this project the tits we kept the hexagon pattern flow through the space. Starting in the water closet, with no thresholds to the other side of the room.
https://onestophomellc.com/ is a link to an other tradesmen who does Bathrooms out of Charlotte adding links to other people looks good from an SEO perspective
